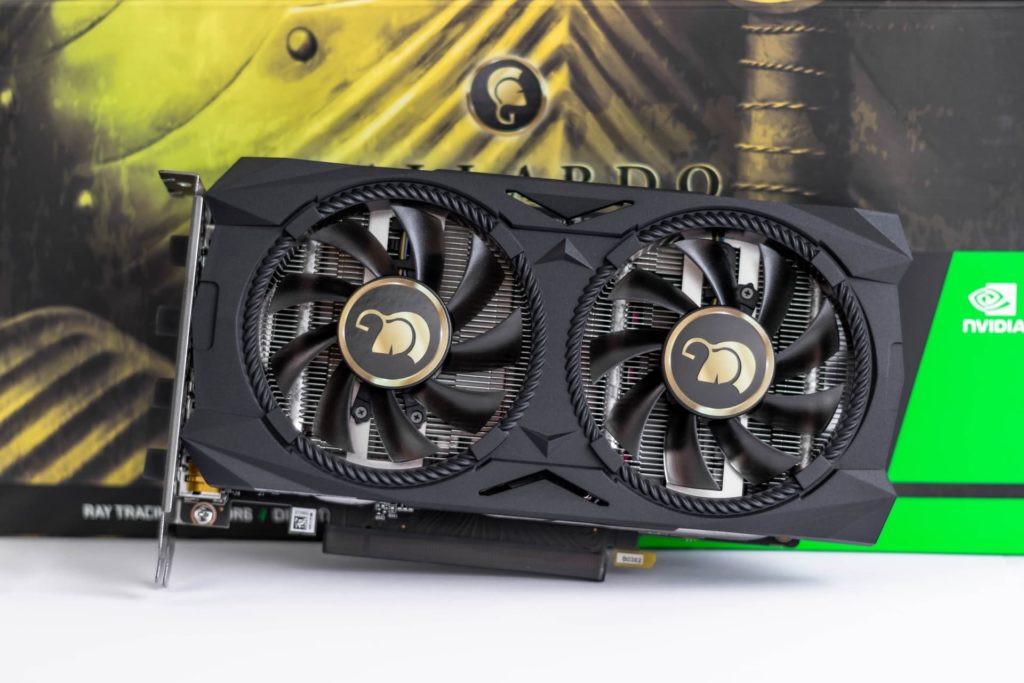
Just follow our guide and you will quickly find out which graphics card built into your Windows computer.
For example, if you want to play games on your PC or install new drivers, it can be important to know which graphics card is available. We show you how you can find out in different ways with Windows 10 which graphics card is in your PC.
Read the graphics card via the device manager
Below is our step-by-step guide or you can check out the quick start guide.
1. Step:
Open Explorer and click on "This PC".
2. Step:
Now open the “Computer” tab and click on “System properties”.
3. Step:
Click Device Manager on the left.
4. Step:
Now search for “graphics card” in this list and then open the tab by clicking on the arrow on the left. Now you will see the name of the graphics card.
5. Step:
Double-click on the name of your graphics card and you will get more information about your card.
Read graphics card with "DxDiag".
DirectX has been standard in Windows for several versions. You can use this software to analyze your graphics card. Below you will find our step-by-step guide or you can view the quick start guide.
1. Step:
Open DirectX with the key combination [Windows] + [R] and then enter “dxdiag” in the window. Confirm with "OK".
2. Step:
Now select "Display" at the top of the new window.
3. Step:
There you will find a lot more information about your graphics card. Their names will also be displayed there.
Read graphics card with "DxDiag".
You can also view more information about your graphics card using an external program. Using the free software GPU-Z, we explain how this works:
1. Download GPU-Z, for example from heise Download via this link: www.heise.de/download/product/gpu-z2. After installing the software, you can open GPU-Z.3. Now the name and a lot of other information about the graphics card will be displayed immediately.
Device Manager Quick Start Guide
1. Open the Control Panel by opening Explorer and clicking on "This PC".2. Then select the "Computer" tab at the top and click on "System Properties" in the menu. The left column now contains the device manager, which you open with a click.3. You can also search for "Control Panel" in the search bar and open it instead. There you can then select "Hardware and Sound" and open the "Device Manager" under "Devices and Printers" at the top.4. A list of the built-in hardware will be displayed in a new window. Search for "Graphics card" in the list and open the tab by clicking on the arrow on the left. You will now see the name of your graphics card. Double-clicking on the graphics card name gives you more information about your graphics card.
DxDiag Quick Start Guide
1. Open DirectX using the key combination [Windows] + [R].2. Enter "dxdiag" in the window and confirm with "OK" or [Enter].3. You will be redirected to a new window where you click on the item "Advertisement" at the top. There you can see the name of your graphics card in the upper left corner.


