If the keys no longer work perfectly or simply from a hygienic point of view, regular and thorough cleaning of the keyboard is recommended!
However, since there are differences in the cleaning of Standard, laptop or notebook, Apple and gaming or mechanical keyboards (Cherry, Razer, etc…), I have listed you the best cleaning methods for any keyboard in this post.
Even if it might be more worthwhile for you to buy a new model, do so Environment please don't. In addition, the following tips are guaranteed to make your keyboard look like new again.
Quick guide to cleaning the keyboard
As a laptop and Apple user, you should not follow these instructions. Because the individual keys are expanded. And you should only do this if the manufacturer expressly states that the keys may be removed!
OUR TIP:
No products found.
Are you looking for instructions for your laptop, MAC or just for superficial cleaning, just skip this paragraph and scroll to the next heading. You will undoubtedly find something there!
Short Summary
- Disconnect keyboard from computer
- Turn over and knock out
- Remove buttons
- Place the buttons in a laundry bag and wash in the washing machine at 40 degrees
- Meanwhile, clean the gaps
- Let the keyboard and keys dry on the heater
- Reinstall buttons
#1. First, unplug the keyboard from the computer.
Then you turn the keyboard on the back and tap and shake the device gently. This should loosen some crumbs and other dry dirt and fall out.
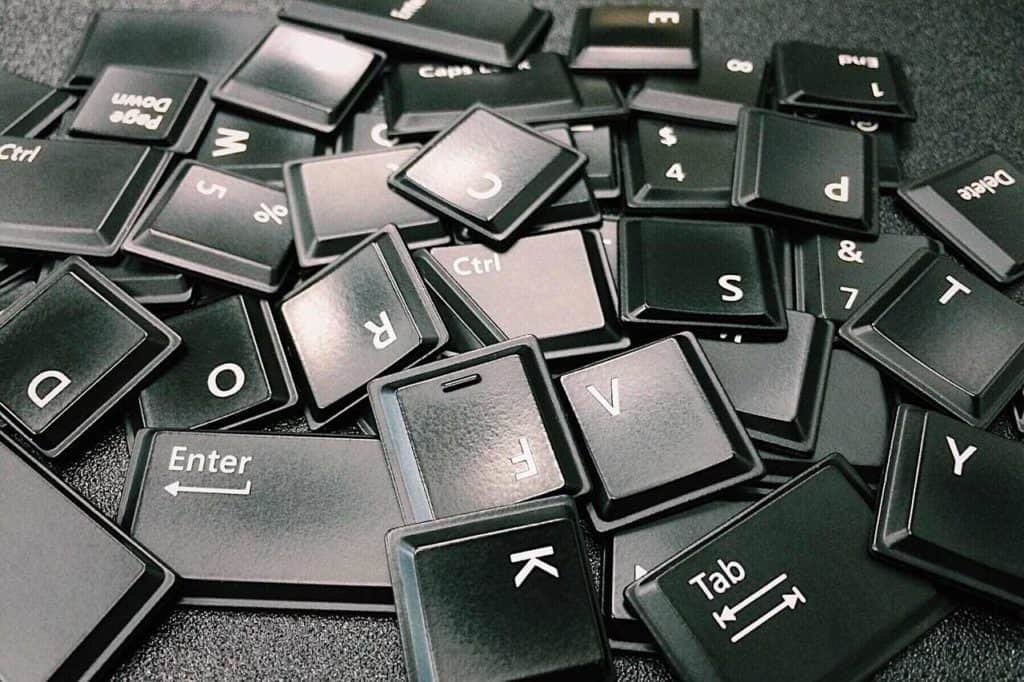
#2. Once you've done this step, you'll need to remove the keys.
But before you start, you should first GALLERY make from your keyboard. This way you know exactly where the keys need to be re-inserted during installation. If you have a strong photographic memory, you can of course skip this step. :)
However, before you start removing the buttons, please use a key to check whether your keyboard is actually suitable for this. In this regard, you simply remove a key that is irrelevant to you and test whether it can be used again.
Normally, almost all keyboards are designed in such a way that the keys can be installed and removed. But I don't want you to remove all the keys only to find out that they can no longer be used.
It is best to use a pointed object, such as one, for this screwdriver, a stable pent, or a butter knife. You need a bit of tact and patience to remove the keys. The space bar in particular is usually very difficult to install and remove. Accordingly, I would not remove the spacebar. But believe me, the result is impressive!
# 3. Then you put all the keys in a laundry bag.
Then you set it Washing machine on 40 degree and short wash and put the laundry bag in the washing machine. You can add more laundry to the laundry bag without any problems.
#5. While the keys are being washed in the washing machine, you should keyboard spaces reinigen.
To do this, simply take a slightly damp cloth with a little washing-up liquid and wipe everything clean. But be really careful and use only little water, otherwise you will still cause a short circuit when connecting to the PC. Toothpicks and bristle brushes are particularly suitable for hard-to-reach areas.
If you find a lot of dust and crumbs in the gaps, you can first use a hand vacuum cleaner with a small attachment and only then wipe it off with a damp cloth. In order not to suck up any small parts, it is advisable to fix tights or a thin sock over the intake pipe with a rubber band.
After you've removed all the dirt from the front, it's time to polish the back and the cable as well. To do this, you simply take a damp cloth with a little washing-up liquid and wipe the entire surface.
#6. Put the keyboard and keys on the heating or in the sun on a towel.
Only when all parts are 100% dry again do you install the keys as shown in the photo above. Otherwise it can happen that your keyboard is damaged by the moisture by causing a short circuit when you connect it to the computer.
When installing, as when removing, you should be patient again. Accordingly, you have to press the keys in gently. A soft click states that a key is properly seated.
#7. Plug in and check.
Finally, reconnect the keyboard to the computer and verify that each key still works.
Instructions for cleaning the laptop keyboard

For a quick cleaning or cleaning of the laptop & MAC keyboard, I have listed further cleaning instructions for you below. All the tips mentioned are suitable for cleaning the keyboard without removing the keys!
Summary:
- Remove the laptop battery
- Turn the device over and gently tap or shake it
- Wipe the keys with a slightly damp cloth
- Clean the gaps with a toothpick
- Let the notebook dry
- Reinstall the battery
At the beginning you have to disconnect the device from the computer or, in the best case, remove the battery from the notebook.
Then turn the device over and shake it a little or gently tap the back so that the loose dirt flies out.
For thorough cleaning you can then use a slightly damp cloth (e.g. microfiber cloth) or a brush (e.g. old toothbrush) with a cleaning agent and only wipe the surface of all keys or scrub them very carefully.
But be careful with the cleaning supplies! Especially with cheaper keyboards, the letters, special characters and numbers come off extremely quickly with an aggressive cleaning agent. In my opinion, hot water with washing-up liquid is perfectly sufficient for cleaning.
Toothpicks are present in every household. Accordingly, my first recommendation would be to try cleaning the gaps with a toothpick.
If you would like to clean your screen as well as your keyboard, take a look at my report on cleaning the monitor here.
Clean Apple keyboard
Apple recommends the stuck keyboard to its customers MacBooks cleaned with compressed air spray. To do this, the MacBook is held in the air at a 75-degree angle and then sprayed in a zigzag from all sides with the compressed air spray. This will remove the impurities from under the sensitive Butterfly keyboard removed. As a result, all buttons should work again without any problems. (To the Apple MacBook keyboard cleaning instructions).

No products found.
FAQ – Maintain keyboard
Can I also put the keyboard in the dishwasher to clean it?
I would not recommend this method to you. While it's convenient to just put the keyboard in the dishwasher, there's a good chance that water will get into any critical cavities.
Because during the rinsing process, the keyboard is sprayed with many liters of water from all sides, so it takes a long time for all the water in the gaps to dry again. However, if you reconnect the keyboard to the computer too soon, a short circuit can occur and your device will break.
What should I do if a liquid has spilled on my keyboard?
If a liquid such as a glass of water, a cola or a coffee has spilled onto your keyboard, immediately disconnect the device from the PC. Then carefully dab the keyboard with a cloth and place it on the heater or in the sun to dry. At best, you should also remove all the keys. This will dry the keyboard faster.
But please don't pour water immediately afterwards, even if the cafe should stick the keys. You can start cleaning as soon as you disconnect the device from the power supply.