The format HFS + is required when using data from a terminal Mac OS / OS X on a external hard drive are to be copied. Users are often surprised that the hard drive is visible in Mac OS, but data transfer is not possible. In order to format in HFS+, the following steps must be performed.
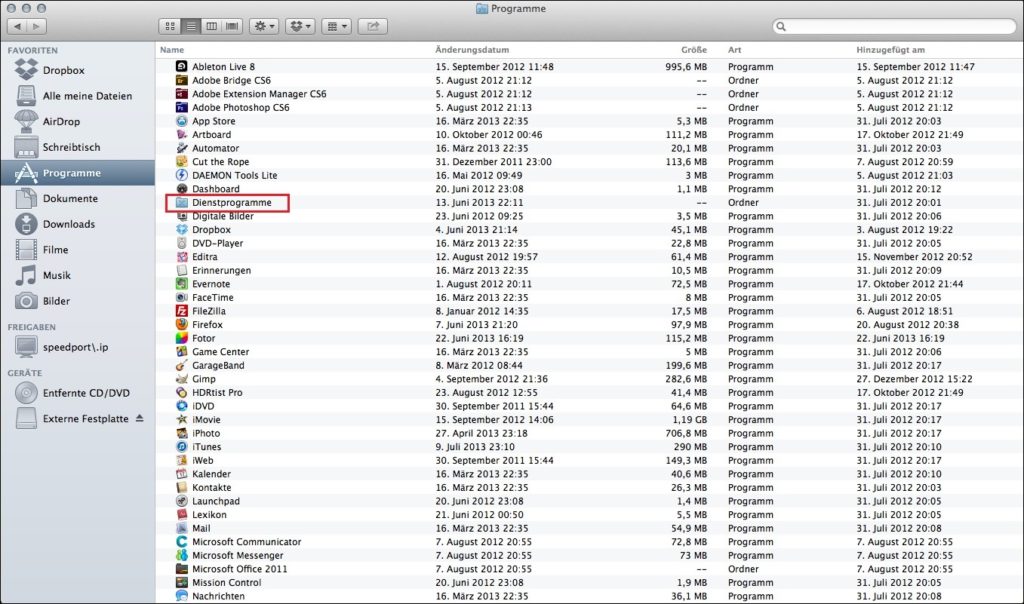
Close yours external hard drive first to your Mac / your Macbook. The hard drive should now be in “Finder” appear on the right side under “Devices”. Now click on "Program” and selects “Utilities" out.
Start here the "Disk Utility” with a double click. Your external hard drive should be listed in the window that pops up on the left. Now select it by clicking on it.

Then navigate with a click on the tab “Delete” for formatting options. In the column "Format"You have to now"Mac OS Extended (Journaled)" choose. This is the required NFS+, even if it is not explicitly mentioned in the settings. If necessary, in the window "Name” the name of the external hard drive can also be changed. However, this change can also be made at a later date.

To start the formatting process, click the Delete button. You will not receive a confirmation of the formatting process, the hard drive can then be used immediately.