An external hard drive into several logical drives subdividing can make sense in different ways.
The most common application is using multiple operating systems on the same hard drive. Each operating system is assigned its own partition here.
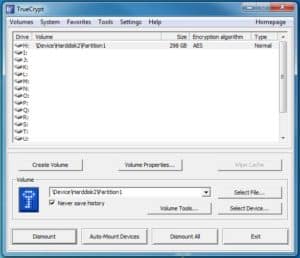
Another reason for partitioning can also be data security. Above all external hard drives are easily prone to damage as they are more frequently exposed to shocks than, for example, permanently installed hard drives. If one partition has file system errors, the other partitions are unaffected.

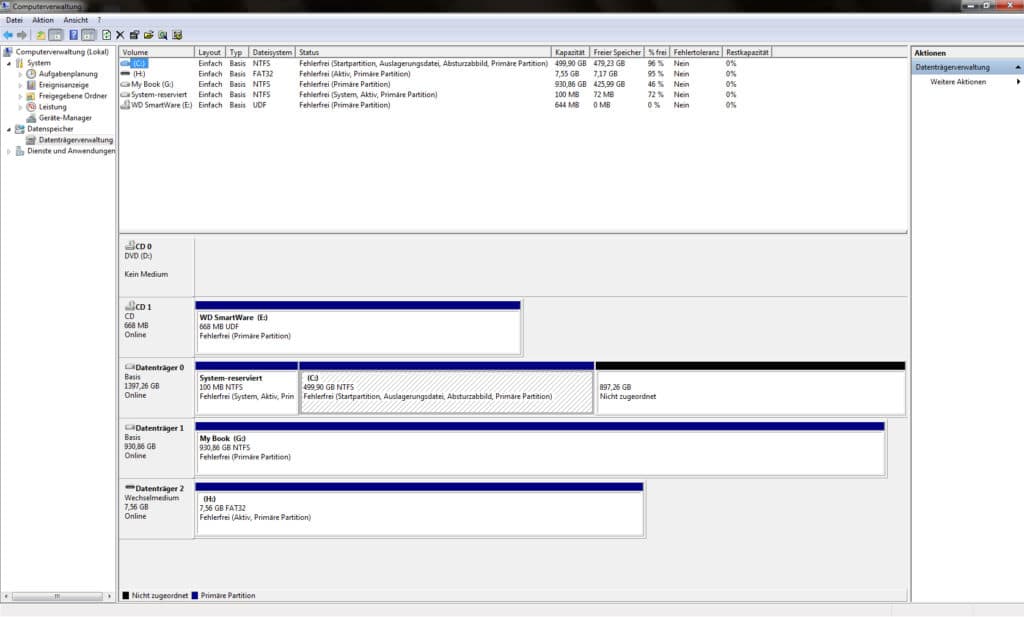
In order to external hard drive into partitions, you can use the Windows disk management. Depending on the operating system, the path there varies:
Windows 7:
Start -> Control Panel -> Computer Management -> Disk Management
Windows Vista:
Start -> Run -> diskmgmt.msc -> Disk Management
Windows XP:
Start -> Control Panel -> Administrative Tools -> Computer Management -> Storage -> Disk Management
Once in Disk Management, you have several options to make space for your new partition:
Option 1: Delete existing partitions

If you plan all partitions to be a certain size, you should delete all existing partitions on your external hard drive. In this case, however, all data will be lost. Make sure you have backed up all files beforehand. Right-click the existing partitions on your external hard drive and click "Delete Volume" to convert your partitions to unallocated space.
Option 2: Shrink Volume

If there is already data on your hard drive, the best option is to shrink the existing partition without copying all the data from the hard drive first. However, you can only shrink the partition as much as the free space allows.
To do this, right-click on your existing partition and select “Shrink Volume”. In the following window you can determine the new size of your partition.
Create new partitions

When this process is finished, you should now find an unallocated area on your hard drive. Right-click the now unallocated space on your hard drive and select New Simple Volume. The following wizard allows you to specify the size of the new partition, the new drive letter and the file system for this partition. After formatting, partitioning is complete and the new Drive can be used. Repeat this process for each additional partition you want.