Building one own gaming PCs is a worthwhile project that's both fun and a great way to understand exactly how your computer works. In this article, we are going to provide you with a guide to help you create your own system from scratch.
Step 1: Planning and choosing the right components
The first step in building a gaming PC is planning. Think about what kind of games you want to play and the demands they place on your hardware. Some of the main components you will need are:
- Processor (CPU)
- motherboard (Motherboard)
- Graphic card (GPU)
- random access memory (RAM)
- Storage (SSD or HDD)
- Power Supplies (PSU)
- Housing
- Cooling system (radiator or water cooling)
- Optional: optical Drive, additional fans, special lighting, etc.
Within the Choosing your components it is important that they are compatible with each other. In particular, make sure that your processor and motherboard have the same socket type and that your power supply has enough power to power all your components.
Step 2: Preparation of the workplace
Before you begin assembly, you should make sure you have a clean, well-lit work area. You will also need some tools, including a Phillips screwdriver and possibly tweezers. It's also a good idea to wear an ESD wrist strap to protect your components from damage.
Step 3: Installing the CPU
Start installing the CPU on the motherboard. Lift the lever on the CPU socket and position the CPU so that the marks on the CPU and socket match. Gently drop the CPU into the socket - it should snap into place without any pressure. Then you can push the lever down again.
Step 4: Installation of the cooling system
The next step is installing the cooling system. If you are using an air cooler, apply a small amount of thermal paste to the CPU and then attach the cooler according to the manufacturer's instructions. If you are using water cooling, follow the manufacturer's instructions for installation.
Step 5: Installing RAM
Now it's time to install the RAM. Locate the RAM slots on your motherboard and open the clips at the ends of the slots. Align the notch in the RAM module with the notch in the slot and gently but firmly press down on the module until the clips snap into place.
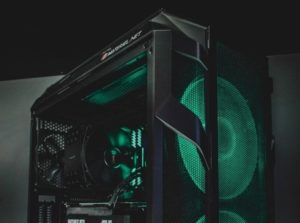
Step 6: Preparing the Case
Before installing the motherboard into the case, you should prepare all the cables and screws you will need. Remove the side panels of the case and lay the case down so that the interior is easily accessible.
Step 7: Installing the motherboard
Carefully place the motherboard into the case, making sure the screw holes and standoffs line up. Screw the motherboard tightly, but not too tightly, to avoid damage. Make sure the I/O panel of the Motherboards fits correctly through the recess in the housing.
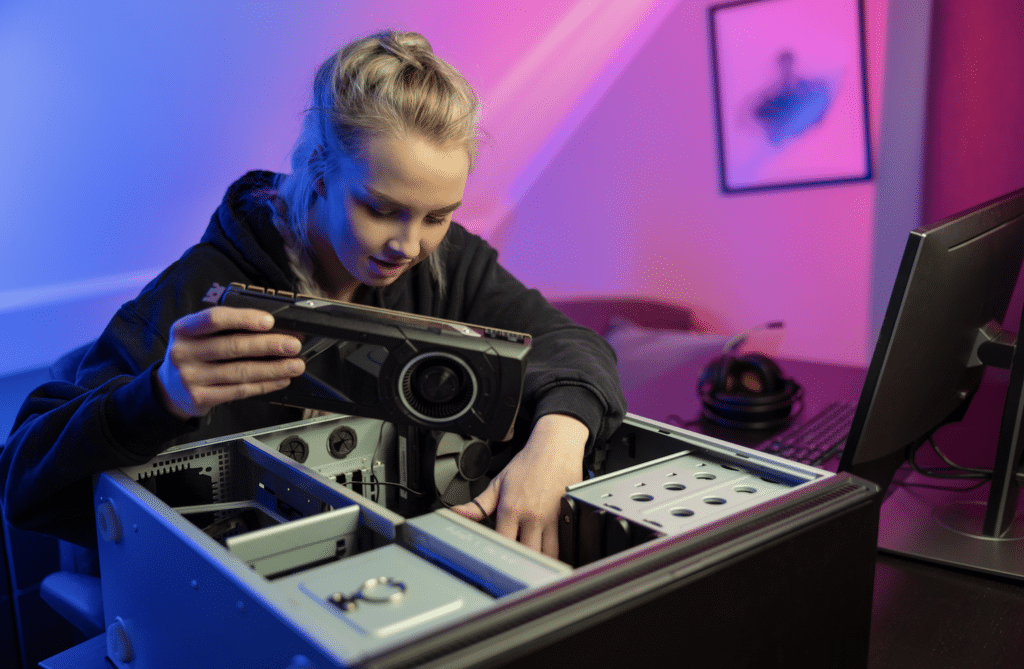
Step 8: Installing the graphics card
The next step is to install the graphics card. Locate the appropriate PCIe slot on your motherboard and remove the corresponding slot covers on the back of the case. Insert the graphics card into the slot and screw it tight. Don't forget to connect the power cables to the graphics card.
Step 9: Installing Memory
Now it's time to install your memory. If you're using an SSD, you'll likely find a dedicated mounting slot in the case. With an HDD, you may need to use a drive bay. Connect the SATA cable from your drive to the appropriate connector on the motherboard and connect the other end to the power supply.
Step 10: Connecting the Cables
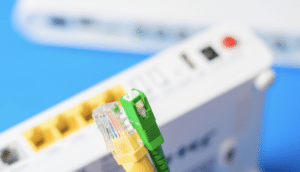
Now you can connect all cables. This includes the power cables for the motherboard, CPU, graphics card, and drives and the data cables for the drives. Don't forget also the cables for that case Fans and connect the front panel connectors for the power and reset buttons, the LED lights, and the USB and audio ports.
Step 11: First Start
Before screwing the case back together, you should do a first boot to make sure everything is working correctly. Connect your monitor, keyboard and mouse and turn on the PC. If everything is connected correctly, you should see your motherboard's BIOS or UEFI setup on the monitor.
Step 12: Installing the operating system
The last step is to install the operating system. This can be Windows, Linux or another operating system of your choice. You will likely need a USB drive to install the operating system. Follow the operating system instructions for installation and configuration.
Conclusion
Building your own gaming PC can be a rewarding experience. It may take some time and patience, but in the end you'll have an in-depth understanding of how your PC works and a customized system that fits your exact needs and preferences. Have fun building!